New Raised Beds! Wood to Metal

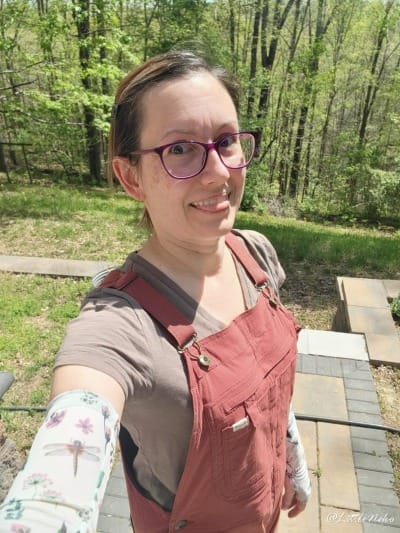
Do you want to hear me nerd out over my new garden beds? Lets go!!
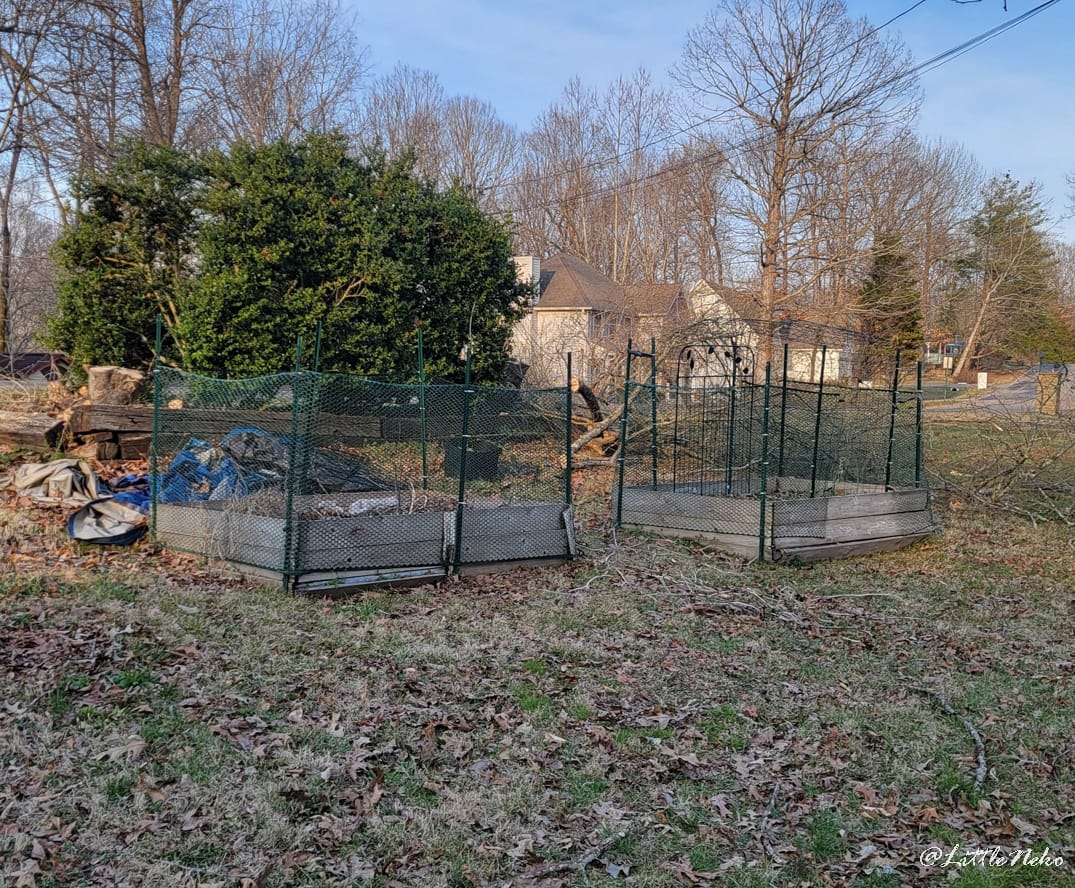
Every spring we seem to have at least one big, pain in the ass, outdoor project to complete. I'm guilty of "springing" this stuff on us, most of the time, since I'm the gardening enthusiast. ;P About 10 years ago, we built two raised beds in the front yard. At the old house we planted around the back deck or in pots, but never built an actual garden. So it was our first real garden! These raised beds have been so easy to work in and I love them. We always order this amazing soil from a local place and the soil is soft like buttah! It's so easy to plant in. The only issue I had was some roots would come up from underneath the bed and come up through the weed cloth and take over. So every spring I would have to rent a tiller to tear them up and pull them before planting.
Having experience from building the first set of beds, round two is going to be new and improved! Here are some things we did differently if you are planning on putting up a raised bed!
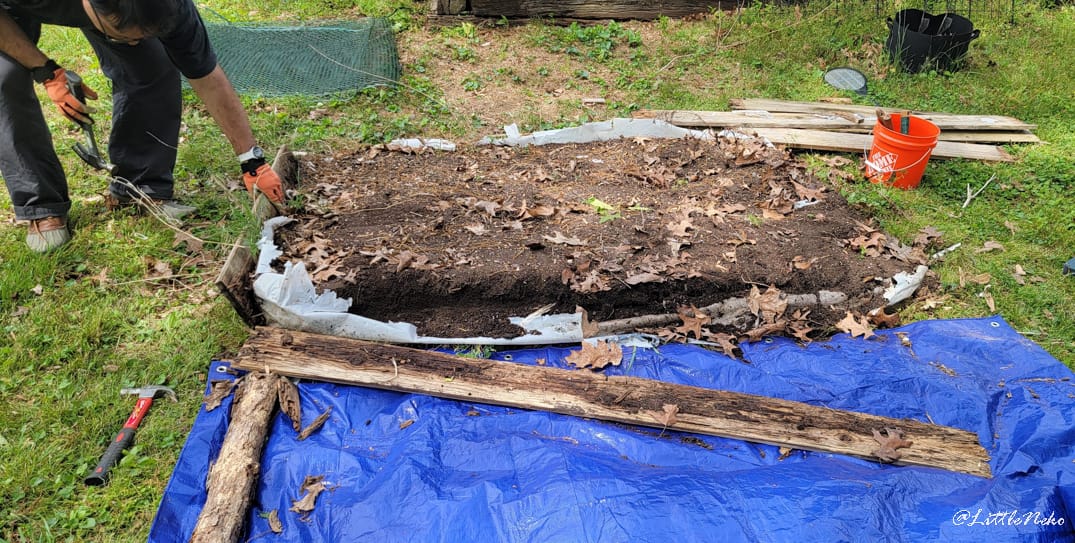
- We leveled the ground where the beds would go. Sounds like common sense right? But the first time we just cut the wood to look like it went into the ground and it was never truly level. Therefore the soil was never level in the beds, but the wood was. We dug out the ground under the bed before putting everything down. For the previous beds, we were lazy and just laid everything on the grass. Don't be past us! This time we shoveled and I took my korean gardening hand tool and dug out as many roots as I could.
- Remember to put down some hardware cloth before your cardboard! This is your barrier to prevent ground creatures, like vols, from getting into your bed from underneath. It's okay if it sticks out under the edge of your bed a bit. Better than being too short. 😊
- We are no longer using weed cloth for anything. We used weed cloth in our flower beds for years and it eventually is sticking out of the soil and looking terrible. It doesn't hold up very well, depending on the kind you get it can add micro-plastics into the soil. It's not good for the soil and it's not biodegradable. I just don't like it!
- To piggyback off the previous point, we used cardboard in our new beds instead of weed cloth. Cardboard is more environmentally friendly. Try to use cardboard that is not super shiny or colorful. Regular shipping boxes works good. Make sure to remove the tape from the cardboard. I wasn't sure about the shipping labels so removed them from the boxes. Sometimes being earth friendly takes a little extra effort, but I already feel so much better using the cardboard!
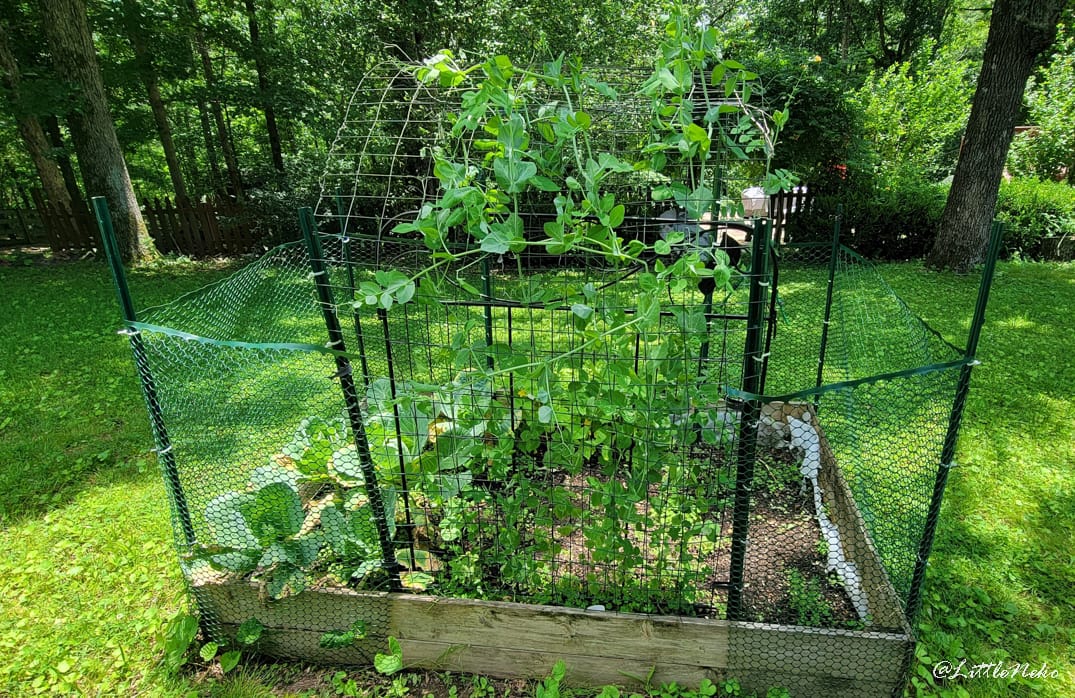
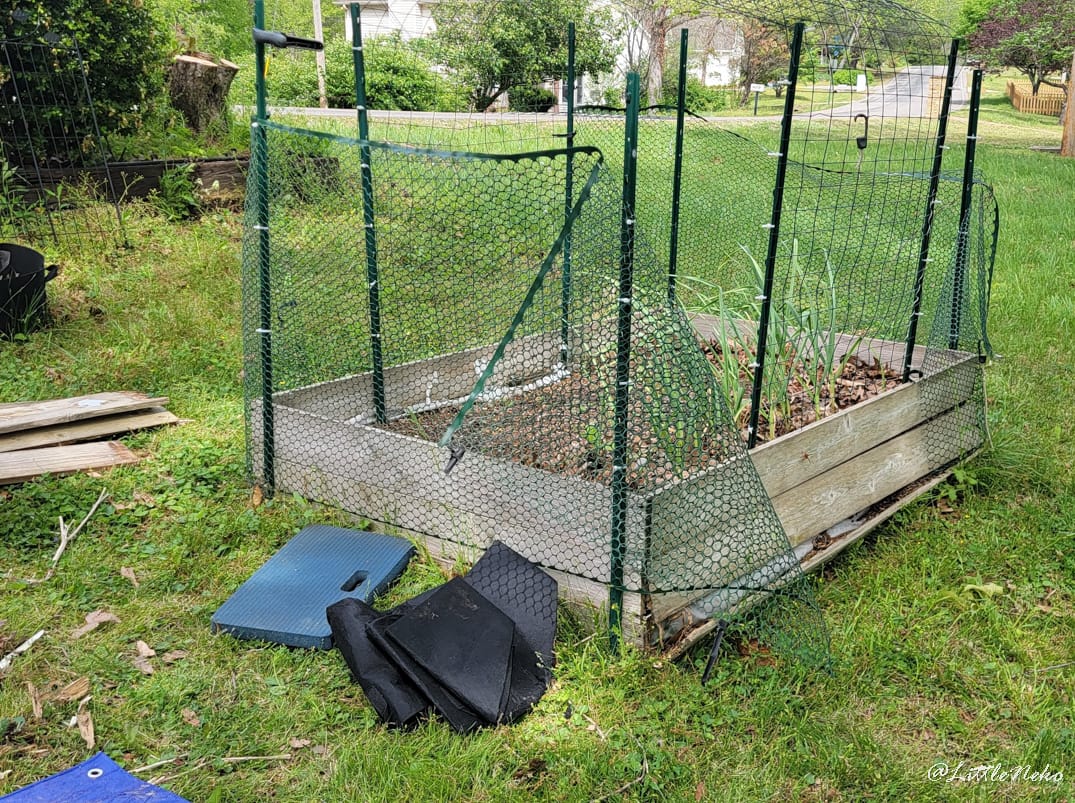
- I moved my trellis to the end of the bed! This made it easier to access than when I had it in the middle of the bed. Just a slight improvement that I am keen on. The first image below, shows the old bed, from last year mid summer. Those are pea vines growing up the trellis.
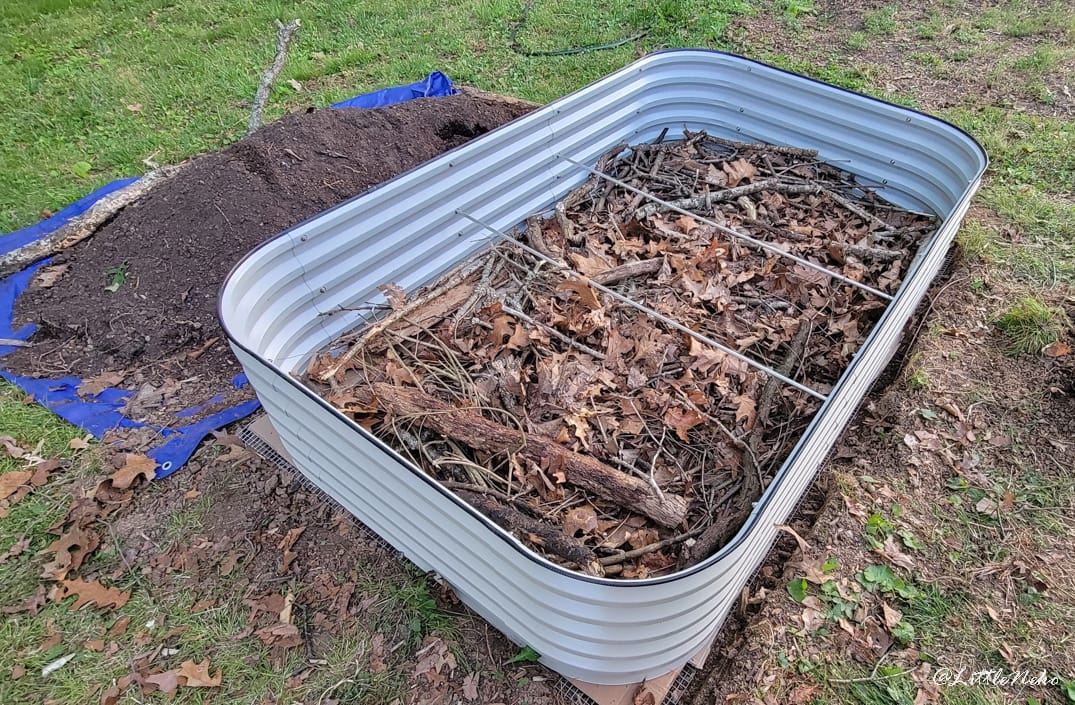
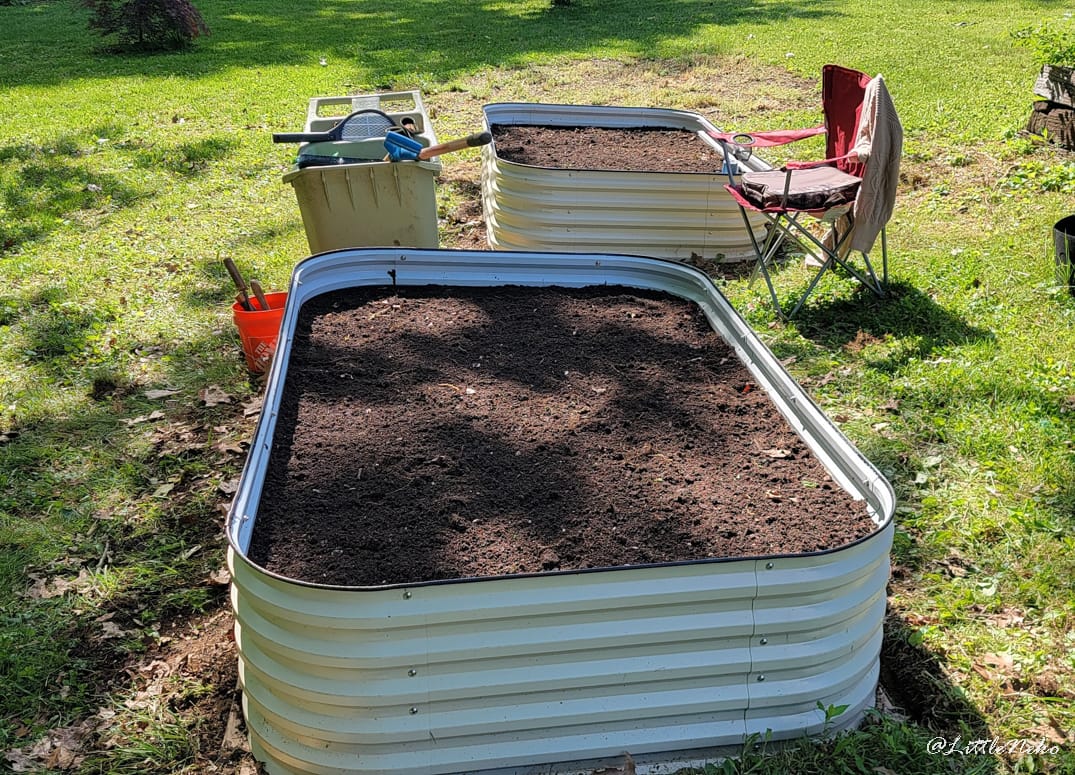
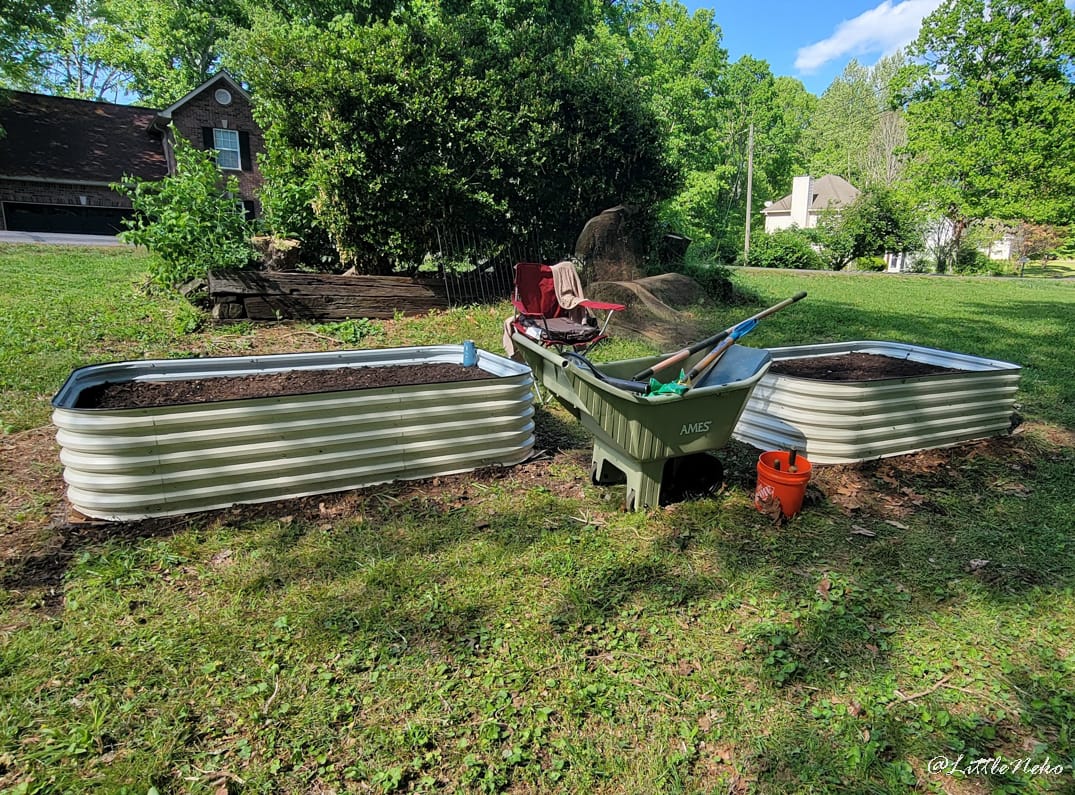
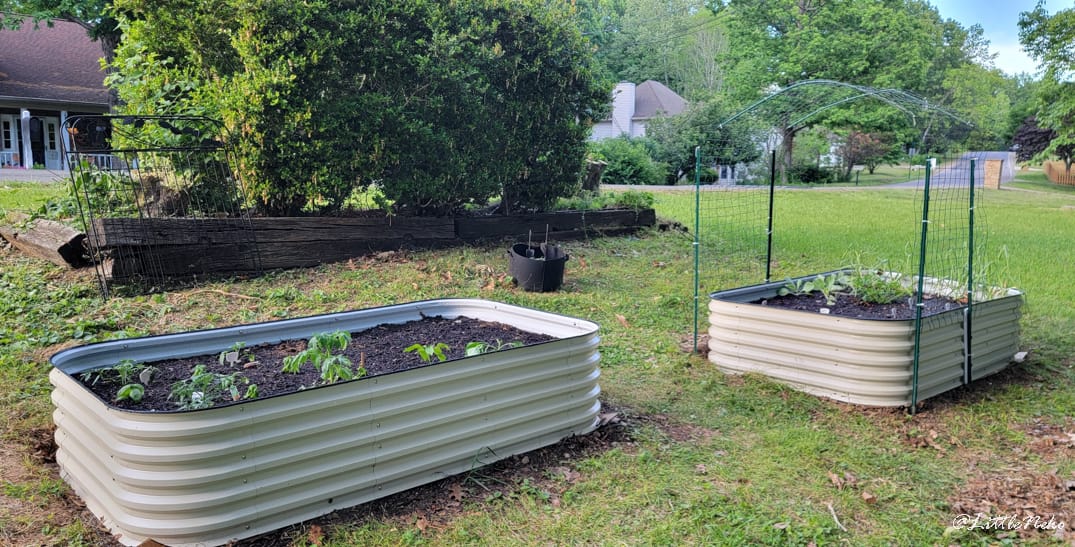
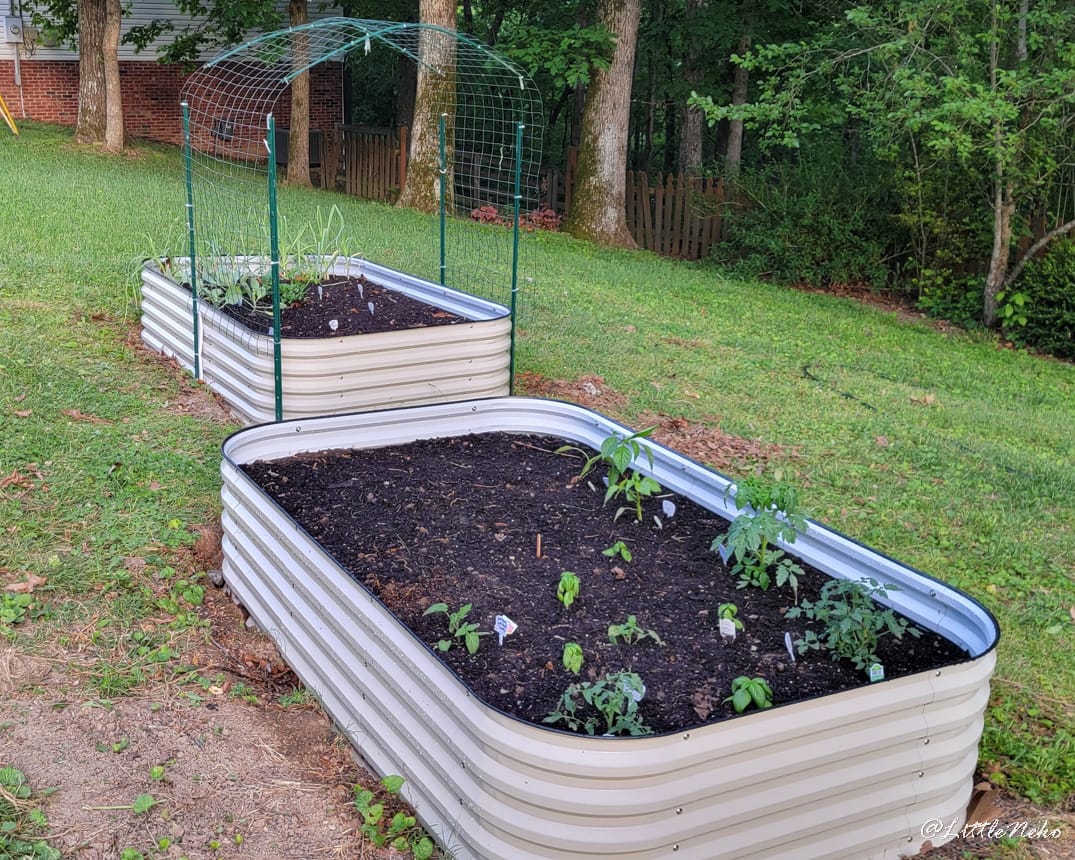
Using these metal beds, I really love them! They will last so much longer than wood. They typically provide good instructions, are easy to assemble and also promote earth friendly practices. The instructions include using the cardboard base, then branches, twigs, leaves, etc from the yard, then your soil! It's like double recycling, because you are finding a second use for yard debris! On our property we have piles of branches and logs from trees that have fallen or just stuff falling from the sky. We got rid of half of one of those big piles filling these beds! It was perfect material because the debris was already degrading from being outside.
So now comes the fun part, where I get to pick out my plants, put them into that buttery soft soil, with little effort, care for them and watch them grow!! I realize it's not as easy as I'm making it sound. Trust me, there are always trials and tribulations in gardening! Pests, water issues, blood, dirt, tears, etc. But it can truly be rewarding seeing these plants grow and possibly provide you with something to eat! I also take comfort in knowing that I grew it and I know where it came from. I love it. 😸 - Happy Gardening!
-Little Neko